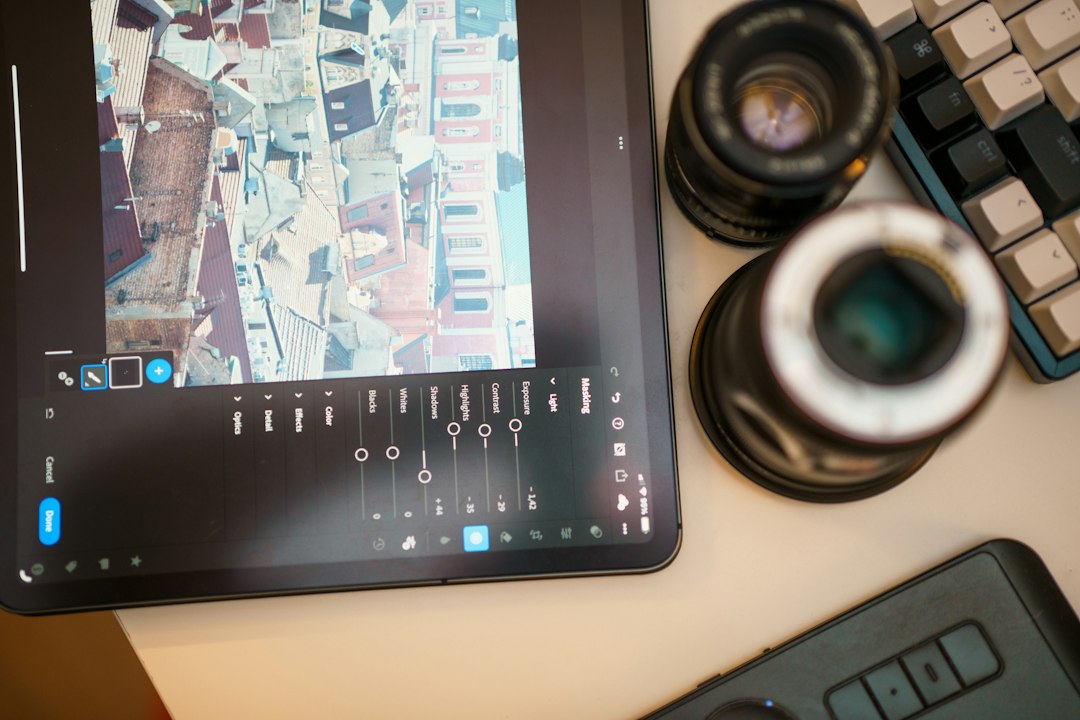
Camera Raw has quietly accumulated a toolkit that, a few versions ago, would have required jumping back and forth to Photoshop. Smoothing skin, calming fabric creases, removing a stray thread or collar wrinkle — all of that is now available before you ever open the file into a pixel-editing environment. The advantage is not convenience alone. Every adjustment you make in Camera Raw is non-destructive and stored as metadata against the original raw data, so nothing is baked in until you choose to export or hand off to Photoshop.
This article walks through the specific controls — what they actually do, in what order to reach for them, and where their limits are.
The Healing Tool Is Now Worth Using for Skin Work
Camera Raw’s Content-Aware Healing tool (the band-aid icon in the toolbar, sometimes listed as “Healing” in the sidebar depending on your version) works by sampling a region of similar texture and tone and blending it over the target area. The key setting most editors overlook is the Type dropdown, which toggles between Content-Aware Remove, Heal, and Clone.
For skin blemishes, Heal is almost always the right choice. It samples color and luminosity from the source area and blends the boundary to match the surrounding tone — useful when the blemish sits across a tonal gradient, as most skin does. Clone copies pixels literally, which looks right for a moment and then reads as flat and pasted-in once you zoom out. Content-Aware Remove is the more aggressive option, synthesizing texture; it can work well on larger distractions but occasionally produces smearing on fine skin detail, especially around the nose or chin.
Brush size matters more than most editors expect here. A brush only slightly larger than the blemish tends to produce cleaner results than a large, lazy stroke, because the tool samples from just outside the brush radius. Drag it too wide and you start including the very variation you’re trying to preserve.
One procedural note: apply healing in Camera Raw before sharpening or noise reduction adjustments, because both of those affect the texture the tool reads when sampling. Sharpening applied first can cause the healed patch to look crisper than the surrounding skin, while noise reduction first can make it look softer.
Texture and Clarity: The Controls That Change How Skin Reads
Two sliders on the Detail panel — Texture and Clarity — directly affect the rendering of fine surface detail, but they operate at different frequency scales, and conflating them is the single most common reason retouches look either over-processed or muddy.
Texture targets mid-frequency detail: pore structure, fine hair, the weave of a fabric. Pulling it negative softens that detail without touching large-scale contrast or color. A value somewhere in the −20 to −35 range on skin typically reduces the harshness of visible pores without making the subject look like a wax figure. Pushed too far negative, the skin begins to look plastic — a predictable artifact because the tool is essentially suppressing contrast at frequencies the eye reads as “surface,” not just “flaw.”
Clarity operates at a lower spatial frequency. It works by boosting local contrast in mid-tones — increasing the micro-contrast that makes an image feel sharp and three-dimensional. For skin work, negative Clarity creates a softening effect, but it does so by reducing tonal separation rather than smoothing texture. Used at −10 to −15, it contributes a flattering softness. Below −20, faces start to lose structural definition.
The combination to reach for first: small negative Texture (−20 to −30) with a light negative Clarity (−10 to −15), applied via a People Mask or Subject Mask rather than globally.
Masking Is What Makes This Work on Clothing
Camera Raw’s AI-powered masking — the Select Subject, Select People, and now clothing-specific sub-selection options — is what elevates these tools from broadly useful to precisely targeted. Without masking, any Texture or Clarity adjustment you make to the skin will also affect everything else in the frame.
For a portrait with visible clothing, a practical workflow looks like this:
- Create a Select People mask and, within it, isolate Skin as a sub-selection. Adjust Texture and Clarity for the skin here.
- Add a second mask targeting the clothing region. Camera Raw doesn’t offer a single-click “Clothing” mask the way it offers “Skin” or “Hair,” so in most cases you’ll use a Select Subject mask and then subtract the skin and hair regions from it — or draw a rough Brush mask over the clothing area and refine with Intersect or Subtract tools.
- On the clothing mask, Texture reduction removes the visual noise of fabric grain that reads as distracting in tight crops. A small negative Texture (−15 to −25 depending on the fabric weight) is often enough. For visible creases in the fabric itself, the Healing tool handles straightforward wrinkles; for larger folds, it struggles and Photoshop’s Liquify or Warp tools remain more appropriate.
The point where Camera Raw’s retouching runs into real limits is complex topology — a jacket lapel with deep shadow, layered folds, or printed fabric where removing a crease risks smearing the pattern. That’s a signal to open in Photoshop rather than push the Camera Raw tools past what they were designed for. For a more involved approach to wrinkle removal using Photoshop’s patch and clone tools, our article on removing clothing wrinkles in Photoshop without the healing brush covers the technique in detail.
The Skin Tone Panel: Color Accuracy Before You Finish
The HSL/Color Mixer panel in Camera Raw includes a Targeted Adjustment mode that lets you drag directly on an area of the image to shift its hue, saturation, or luminance. For skin retouching, this is worth using to correct color casts picked up from mixed lighting or lens coatings.
Healthy skin tone in the HSL panel typically sits in the orange-to-red channel. A common problem in strobed or window-lit portraits is a slight magenta cast in the skin, which can push the red channel hue slider toward orange and reduce the red saturation slightly to neutralize it. What you’re looking for is that the skin reads as warm without appearing sunburned or oversaturated on a calibrated monitor.
Camera Raw’s Vectorscope (available in the Parade/Waveform section if your version supports it) provides a more reliable reference than eye-checking against your display. Skin tones, regardless of complexion, fall along a relatively narrow diagonal line on the vectorscope sometimes called the “skin tone line” — if the plot drifts significantly off that line, color correction is likely needed. The article on using the vectorscope for skin tones in Camera Raw explains this calibration approach in more technical depth.
Sharpening After Retouching: Don’t Undo What You Just Did
After skin and fabric work, the Detail panel’s sharpening controls can restore a sense of crispness to areas that shouldn’t have been softened — eyes, eyelashes, jewelry, fabric texture in areas you deliberately left unmasked. The Masking slider in the Detail panel (hold Alt/Option while dragging to see the mask preview as a black-and-white overlay) restricts sharpening to high-contrast edges and protects smooth areas like softened skin from being re-crispened.
A Masking value in the 50–70 range for a portrait typically protects the skin softening you applied with Texture while still sharpening the structural edges of the face. This is different from a blunt Sharpening Amount reduction — you’re using spatial selectivity rather than just turning the effect down globally.
Where to Go From Here
If you’re working with a portrait where the clothing wrinkles are the main problem and skin is secondary, start with the Healing tool passes on the most distracting creases before touching any tonal adjustments — healing accuracy degrades slightly once local contrast has been boosted by Clarity or Texture changes. If skin is the priority, work the masking and Texture/Clarity adjustments first, then use Healing for individual spots.
The practical next step: open a recent portrait in Camera Raw, build a People mask with Skin selected, and dial the Texture slider to −25. Compare it at 100% and at the intended output size. At actual screen size, you’ll likely find the adjustment is invisible when subtle and only apparent when you’ve gone too far — which is exactly where the slider should live.